What to do with an old book that is ruined but you’d like to give (a part of) it a new life? Turn this old book into a handbag with my tutorial!
![]()
We have hundreds of books at home. There are so many of them that there’s no decent place for them, most of them just stay in boxes. Some are books that we don’t want to keep and we are not going to read them again. We are giving them to friends and sending them to second-hand bookshops. And then there is that small group of books that not even the stores want for free because they have serious defects. Some of them, however, kept their hardcover almost intact and it got me thinking that there could be a way to use them.
I really like repurposing old stuff, you can find some of my ideas and tutorials in the category Recycle & Upcycle. And now I’m going to add to that bunch of tutorials the one about how to turn an old book into a handbag.
![]()
As I already said, you need just the hardcover of the book, so if you’re book pages are ruined but the cover’s fine, that’s enough. There’s not much sewing in this project, just a little. All of the sewing could be replaced by gluing but I don’t like gluing fabric where not necessary, so there is some sewing. You’ll obviously need some fabric, it’s a good opportunity to use scrap fabric.
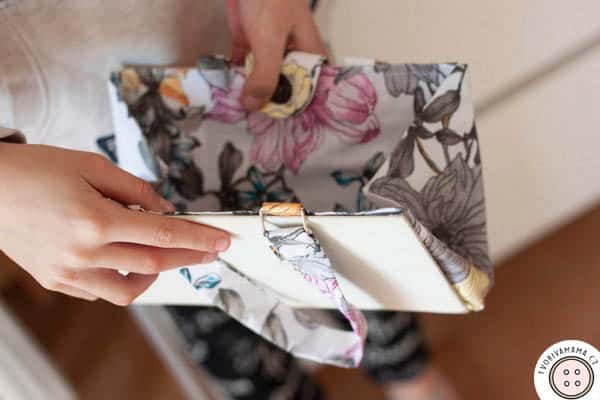
Handbag made from a book, original, right? It is definitely a conversation starter! And every piece is an original. Moreover, I will show you three ways to attach handles so you can choose the one you like the most.
Table of Contents
Supplies
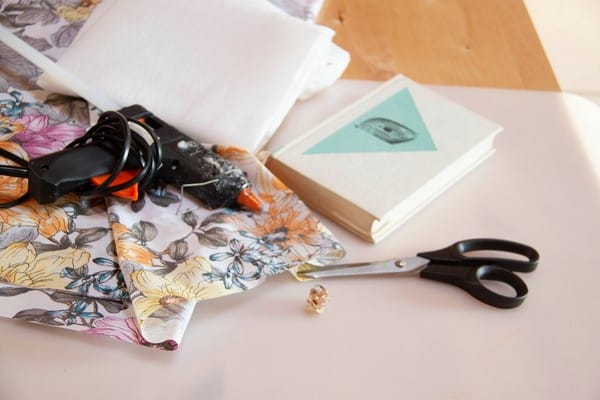
- book with hard cover
- cotton canvas
- glue gun
- sewing machine
- magnetic snap
- pencil/felted pen
- scissors
- piece of fusible fleece
- x-acto knife or carton cutter
- transparent varnish in spray
- eventually also: rings for the handles (if you don’t want just an envelope handbag), carbines, premade handbag handles if you don’t want to sew them
Handbag from an Old Book – Tutorial
Prepare lining
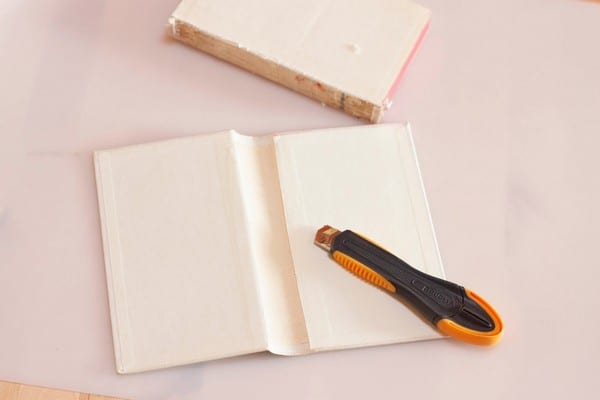
Cut the inside of the book (the pages) to have only the hard cover left.
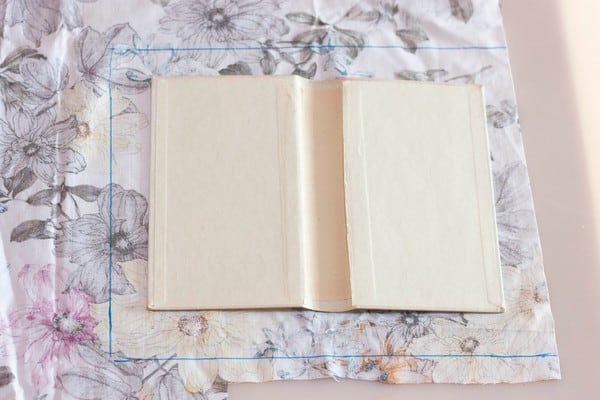
Place the cover on the canvas and trace about 2,5 cm/1 in around it. Cut it out.
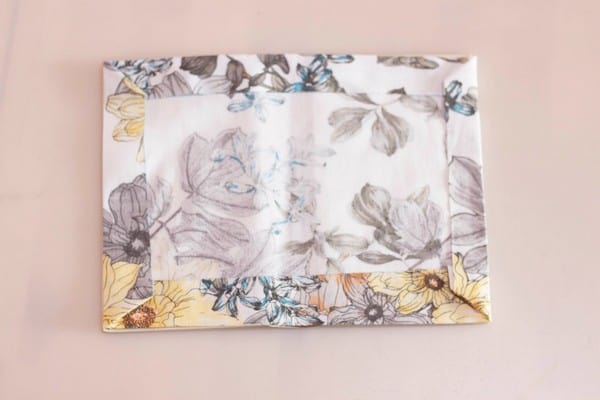
Place the rectangle right side down on the cover and fold in the edges so that the canvas is the same size like the cover.
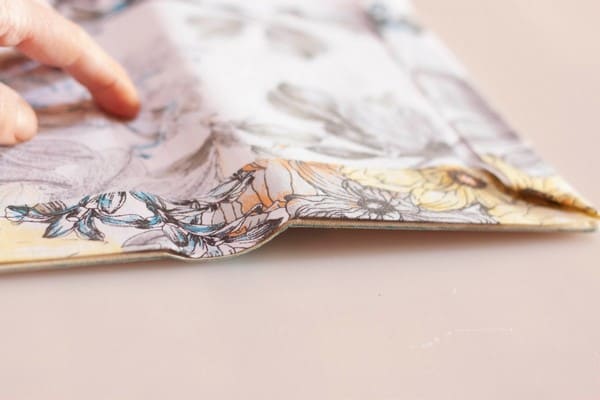
Be sure to press the lining also in the spine to make sure the size is really the same.
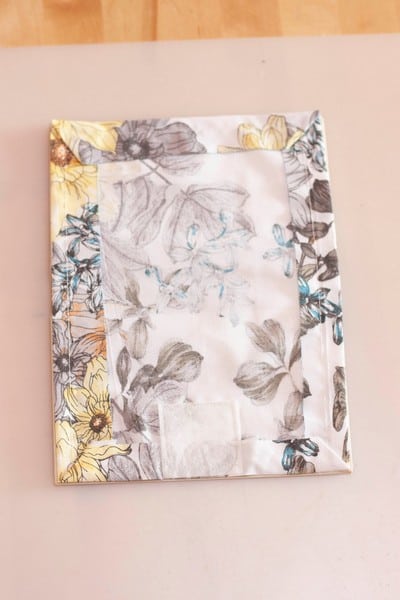
Topstitch the sides about 1 cm from the edge. Cut out a square from the fusible fleece, it has to be at least the double of the diameter of your magnetic snap.
Attaching the snap
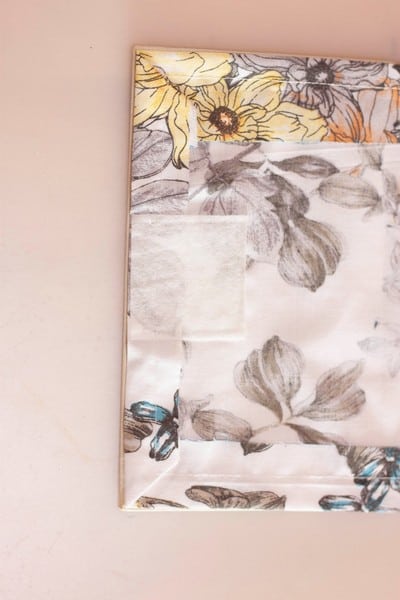
Measure the center of one of the short sides and iron on the rectangle to the wrong side. Or you can sew it on.
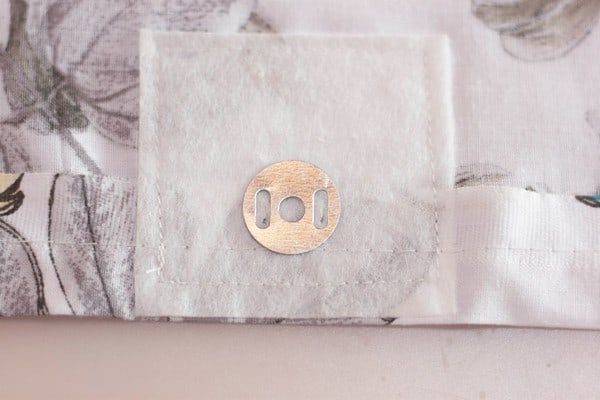
Place the ring from the magnetic snap 1,5 cm from the edge and at the same time in the center of this side of the handbag.
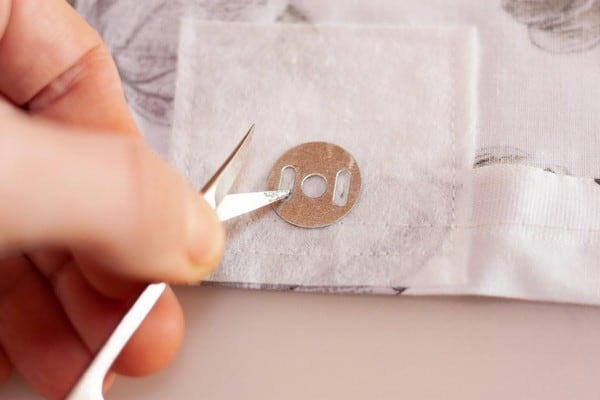
Cut little openings in the side holes.
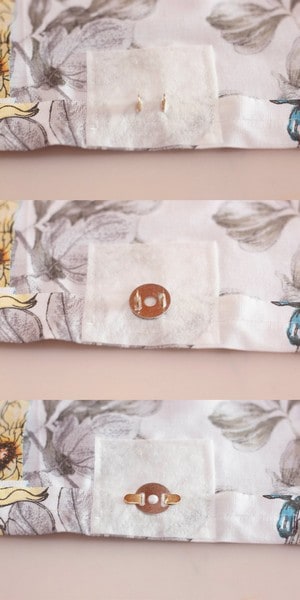
Then push in one half of the magnetic snap from the right side. It has two small “legs”, these come through the holes. Then place the ring on them at the wrong side of the lining and push them to the side to secure the snap in place.
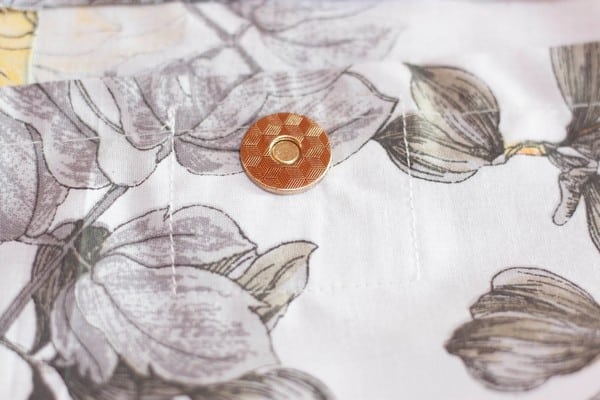
This is what this half of the snap will look like from the right side.
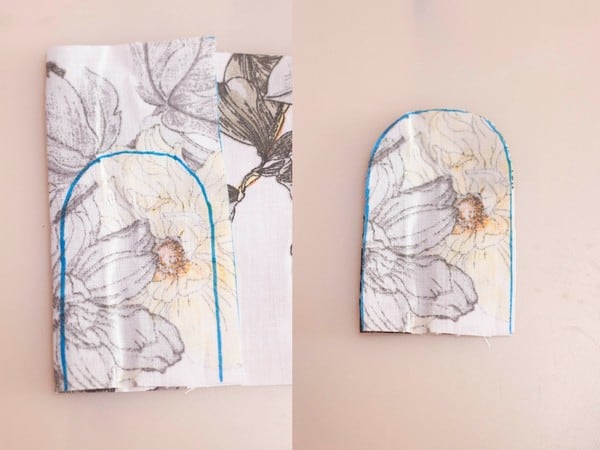
Fold a piece of canvas and cut a shape like the one you see, about 8 cm/3 in long and with one end rounded. You get two identical shapes.
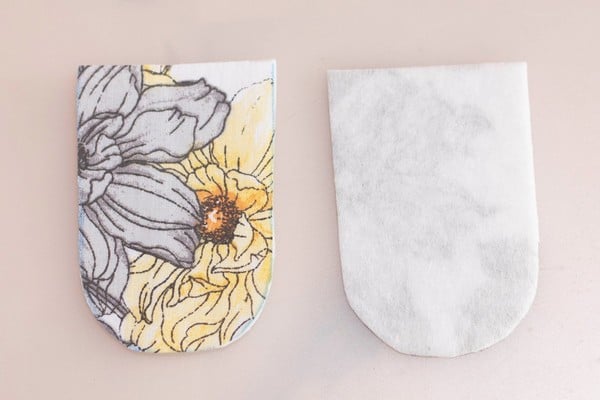
Iron or stitch one of them onto the fleece and cut it out again.
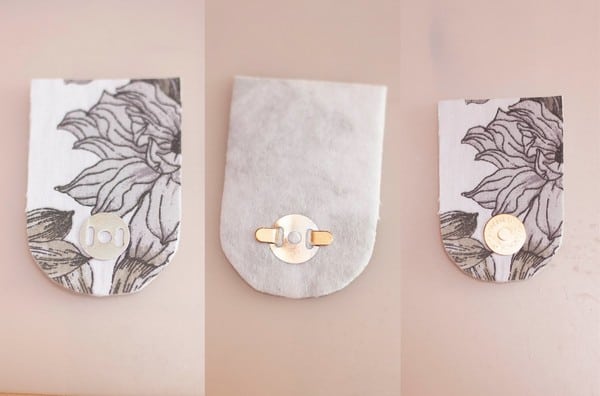
Now attach the other half of the magnetic snap to the piece with the fleece interfacing. Follow the same steps like with the first half.
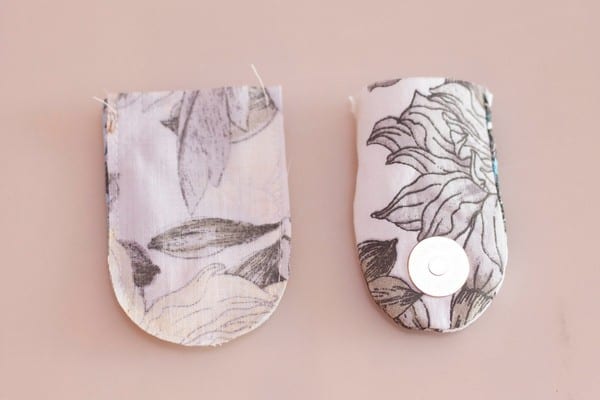
Place both shapes on each other right sides together and topstitch 0,5 cm from the edge. Turn it right side out.
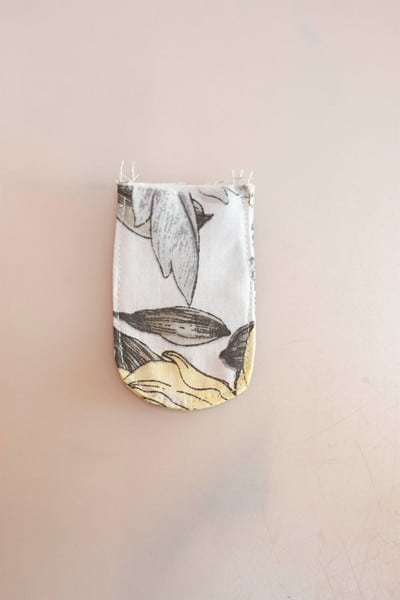
Press and topstitch again around the edge.
Sides
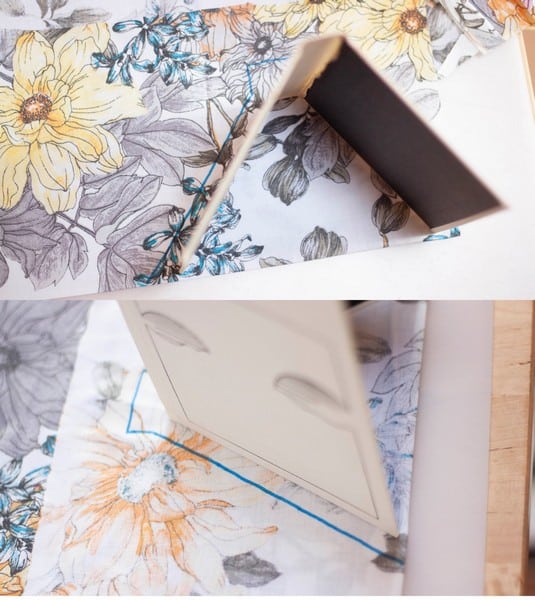
Open the book as much as you want the bag to open and place it standing on the fold of the folded canvas. Trace 1,5 cm around and 2,5 cm at the spine.
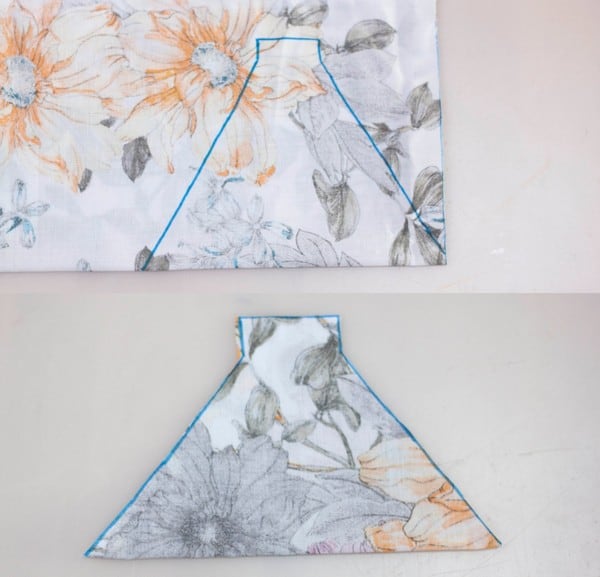
Cut it out.
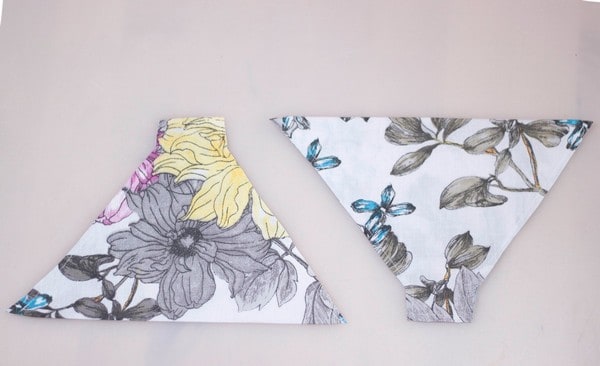
Trace the cutout and cut out again, you need two of these sides. They should be folded right side out, so flip them if you have the wrong side out. Topstitch half a centimeter from the edge.
Loops, handles
These are the steps to follow to make loops and handles (5 cm/2 in is enough for loops, make handles as long as you wish).
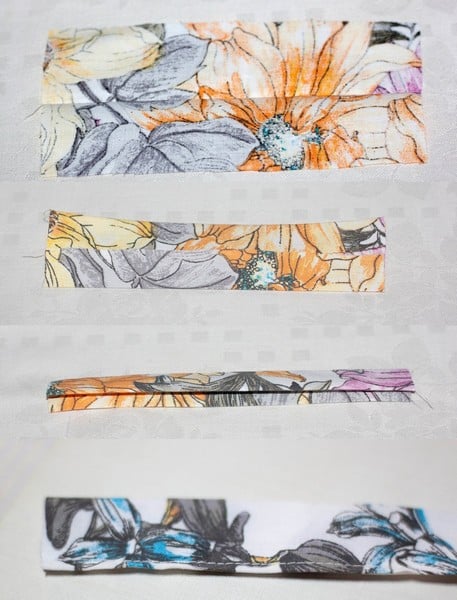
Prepare a stripe of fabric as long as you want and four times as wide as you want (= if I want the final strap to be 1 cm wide, I start with a 4 cm wide strap). Fold it in half lengthwise, press iron and open. Fold the sides to the center crease, press. Fold in half and press. Topstitch the open side.
Loops
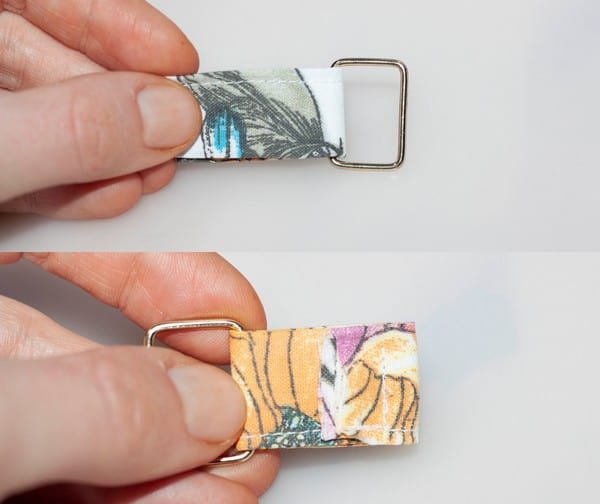
If you want to make one long handle attached to the sides of the bag, you’ll need two loops. If you want two short handles, prepare four loops. If you want an envelope handbag that you’ll just hold in your hand, you won’t need any loops. Fold each loop in half and pass it through the ring. Fold one end a little over the other and stitch.
Attaching the lining and other parts
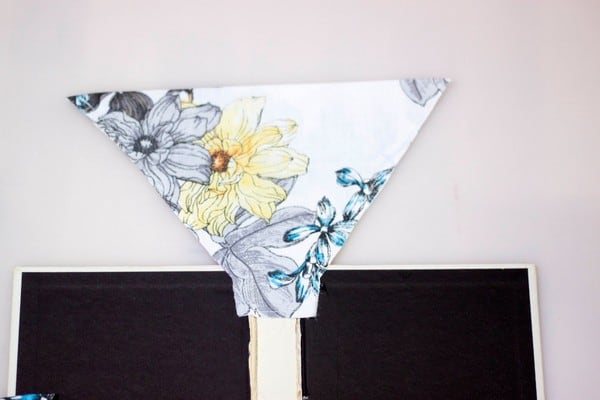
Glue the sides in the spine like you see in the picture.
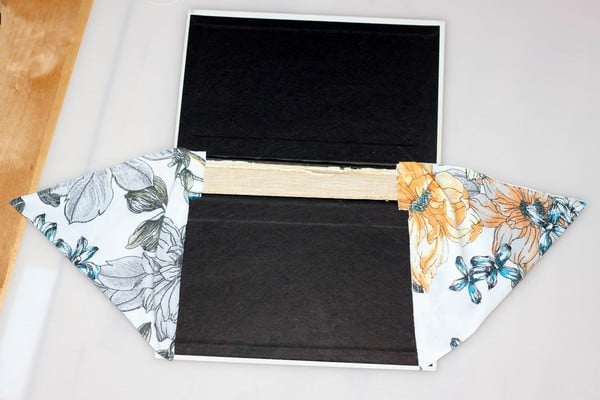
Glue 1,5 cm of each side onto the cover. Start with one side.
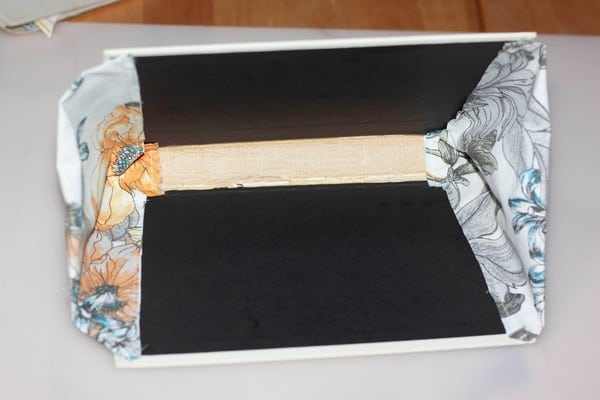
Then the other and now the basic shape of the handbag is done.
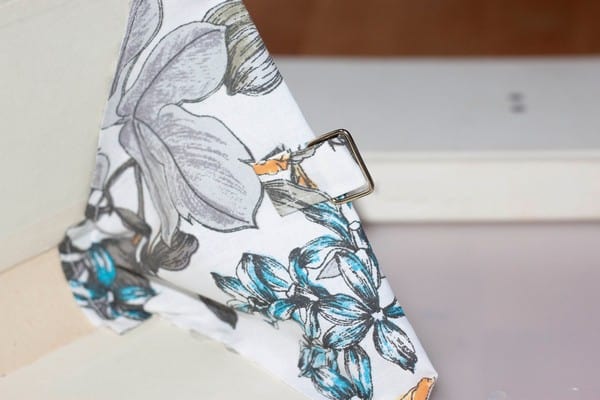
For the one long handle version, glue one loop in the center of each side (on the inside).
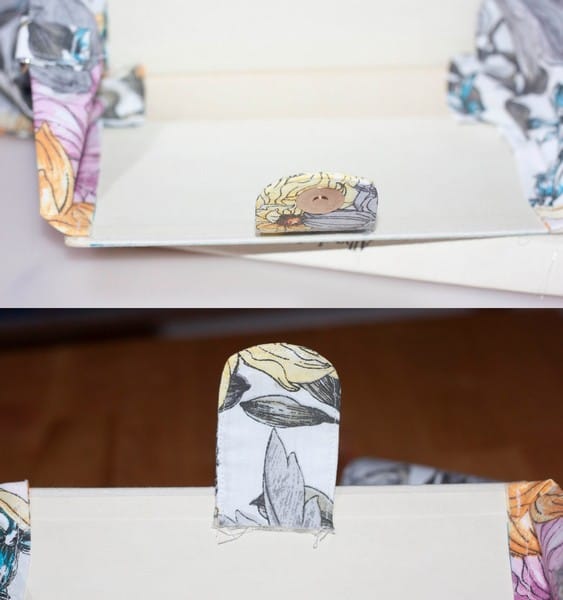
Find the center of one long side and glue on the piece with the snap on the inside of the cover.
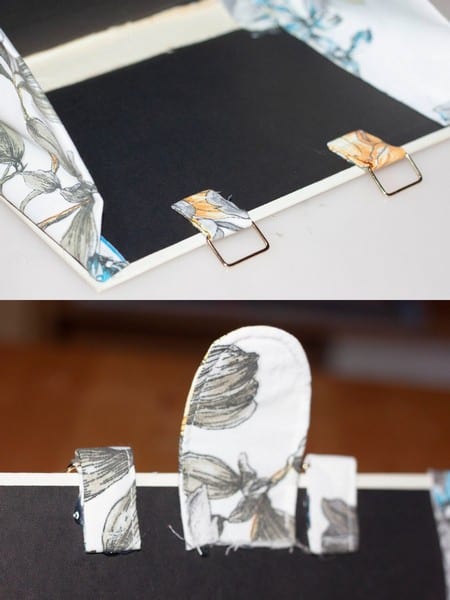
For the two handles version, find the center of each long side, glue two loops at the same distance from the center on both sides and on one side, glue in the piece with the snap in the center.
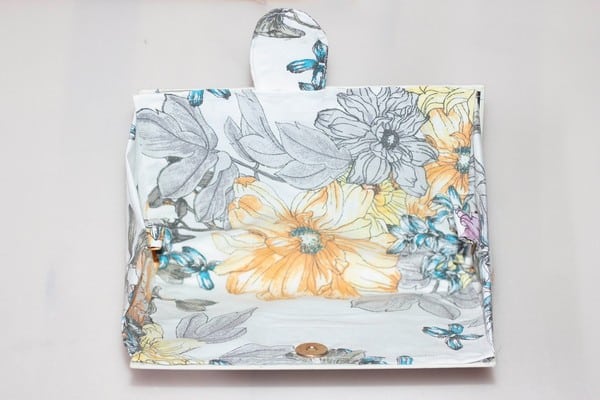
Glue on the lining as last. Start with the edge with the magnetic snap, continue down on the sides. Leave the spine unglued and continue on the other side, long edge first, then down the sides.
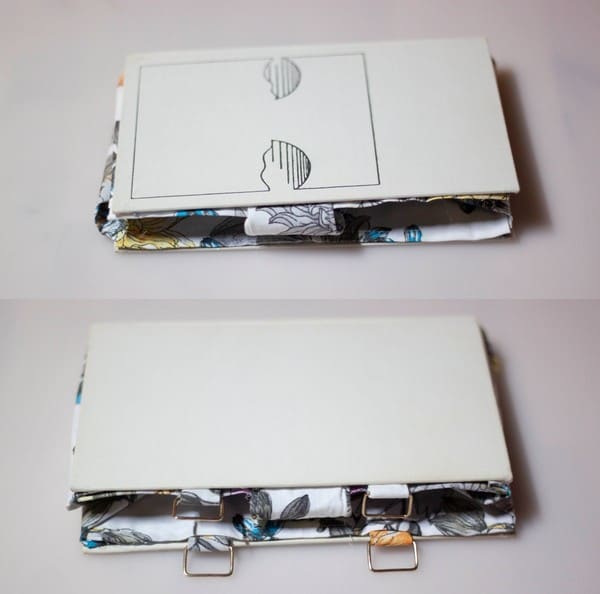
Now you can close your handbag and all that’s left it attaching the handles.
Handles
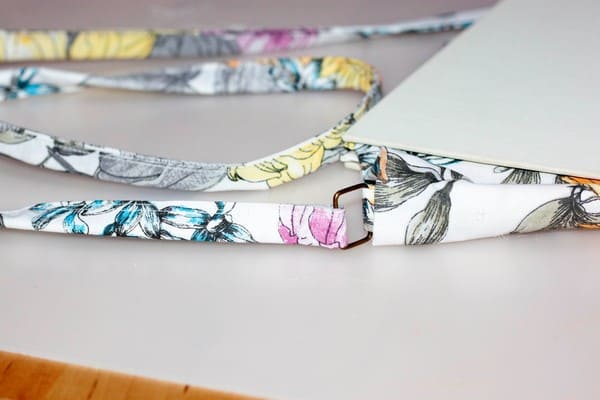
If you want your old book handbag to be crossbody, make one long strap and attach it to the loops on the sides. You can stitch the handle in the loops…
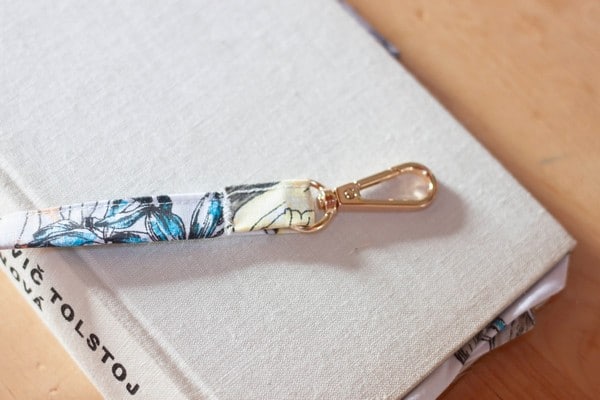
…or to one carbine on each side, this way you can wear the handbag as envelope or attach the long handle and wear it crossbody.
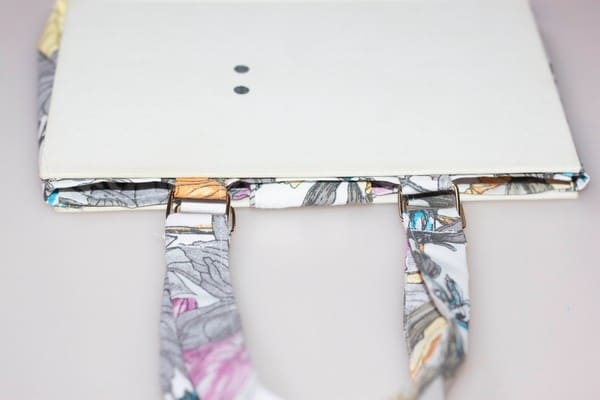
If you want two shorter straps, you’ve prepared 4 loops. Make 2 handles and stitch them to the loops, one on each side.
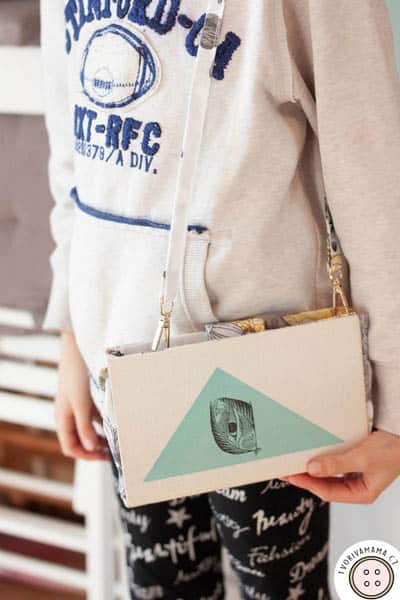

Your handbag made from an old book is done!