Do you have a little dragon kid at home that’ll soon need a dragon costume? Search no more, here’s my tutorial on a dragon costume that’s also a sweatsuit, so it’s wearable all year long!
![]()
My son is a sweetie – he loves all slimy critters that don’t have legs, of course he wanted a snake (a real one) for Christmas! This year’s Masopust or Czech Mardi Gras costume was a clear thing – dragon. I gave it some thought because I didn’t want to make a costume that he would put on once or twice, it had to me something wearable all year long. And so I made a dragon sweat suit.
![]()
Luckily, I found this thick sweat jersey with snakeskin design, that makes a huge difference in the costume. What I sew are basically normal sweatpants and a sweatshirt with a pocket and pointy hood. The hood is decorated with red spikes, the edges are red and there are a few more dragon hacks.
There are many more costume tutorials in the category Costumes.
Table of Contents
Supplies
- Sweat fabric – green, with snake skin design or any other
- Red sweat fabric
- Sweat suit sewing pattern with pointy hood or normal hood that you modify to be pointy
- Scissors
- Pencil
- Ruler
- Paper
- Red felt
- Black felt
- White felt
![]()
Sweatsuit – Dragon Costume Tutorial
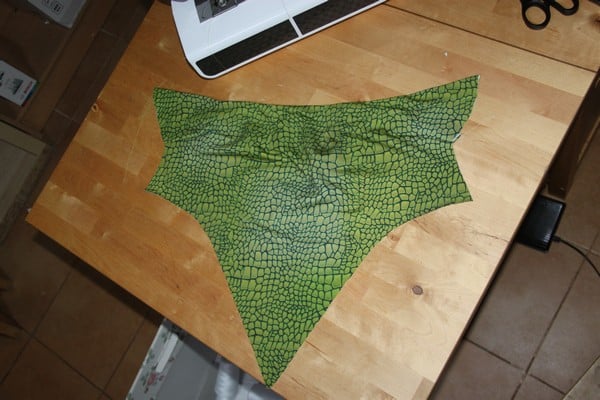
First, I cut the pointy hoodie from the pattern.
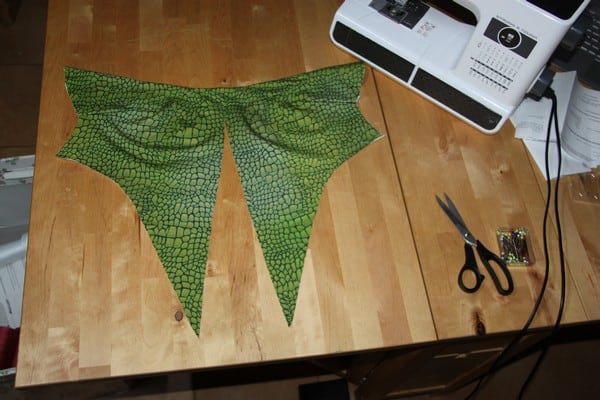
I cut it exactly in the center until about 4 cm from the front. I measured the length of the cut.
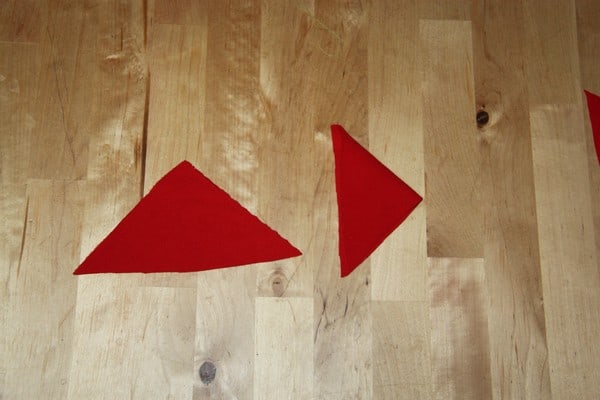
I divided this number by 4 and then I drew an isosceles triangle on a piece of paper. The base of this triangle has to be 1 cm longer than the number measured and divided by 4. Then I folded the red sweat fabric, placed this triangle pattern with one axis on the fold and cut out four triangles like this (they are cut on fold so when you open them they’ll be double in size). In the picture you see an unfolded triangle on the left and a folded one on the right.
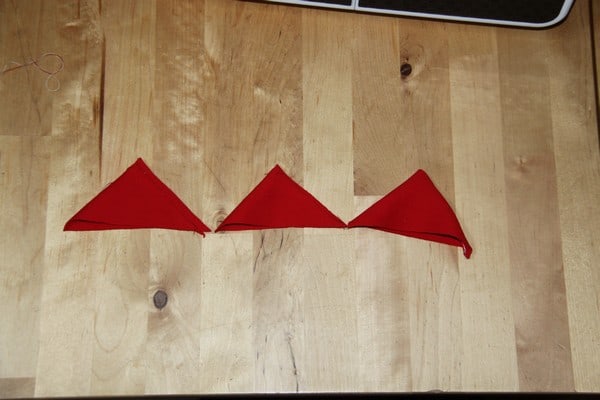
I topstitched the open axis of each triangle about a half centimeter from the edge. Only the base of the triangle stays open. Then I turned the triangles right side out.
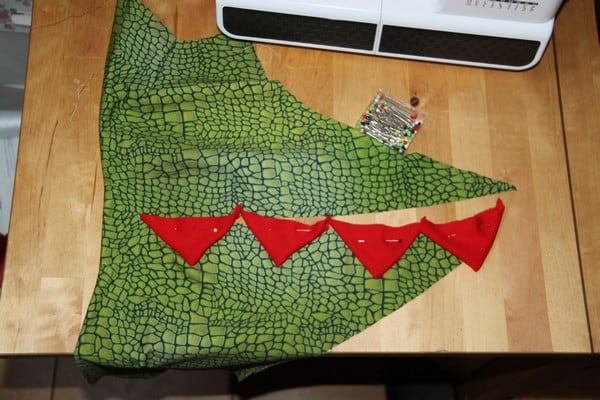
I pinned the triangles on one cut edge (base on the edge).
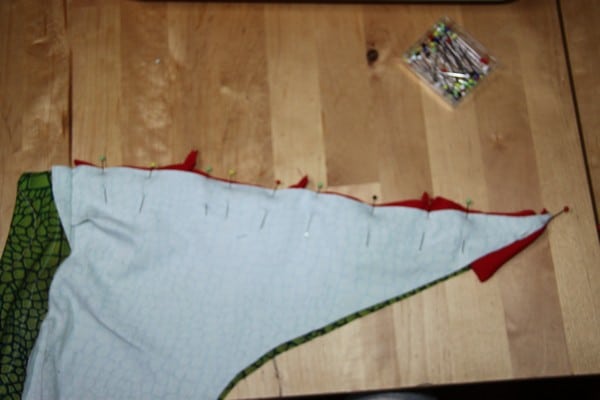
I placed the other half of the hood on top of the triangles face down and pinned.
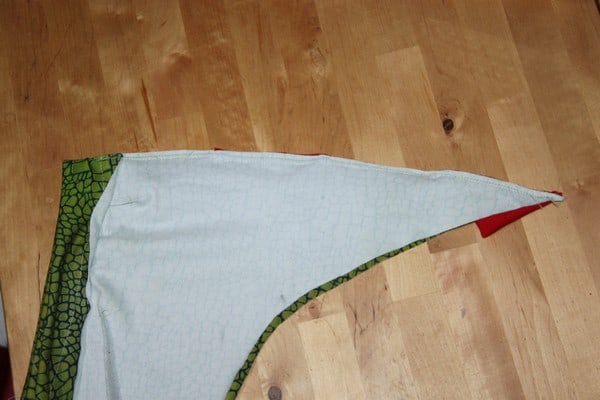
I topstitched the whole cut line.
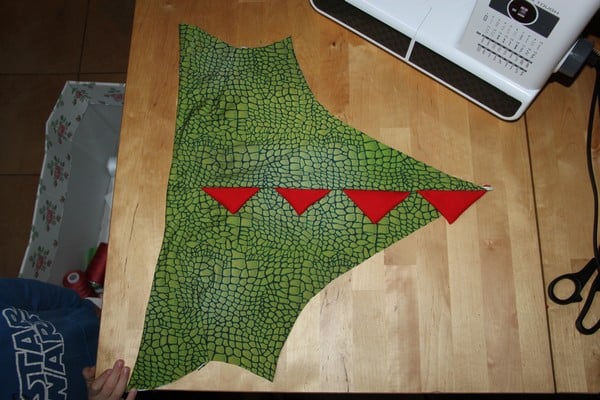
This is what the hood looked like at this point.
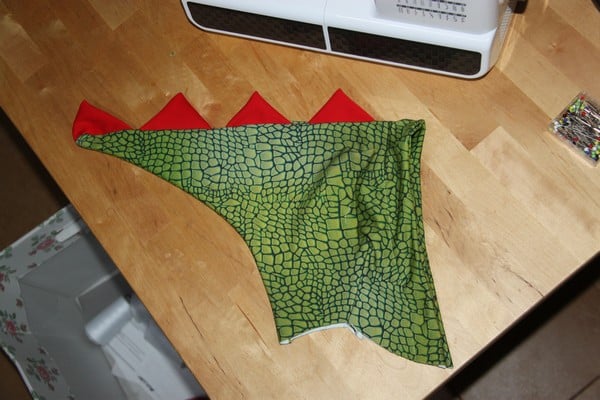
I stitched the hood normally…
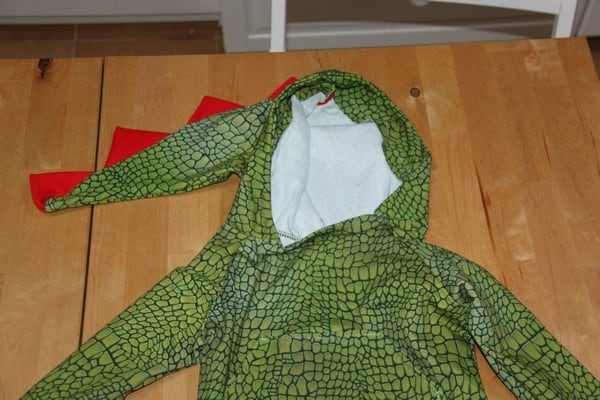
…and attached it to the sweatshirt.
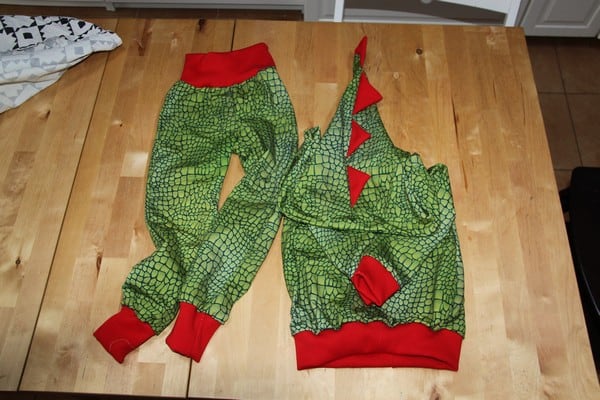
The sleeved and edges of both the pants and the sweatshirt are finished with a red elastic welt. At this point you can already use the sweat suit as a costume, if you don’t want to “dragon” it up anymore. If you do wish to continue adding dragon stuff, keep on reading.
Eyes
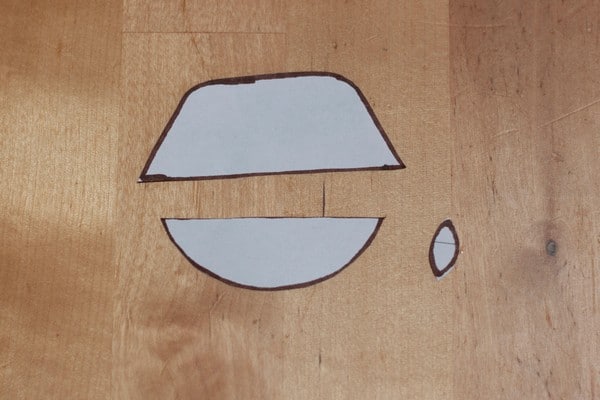
I cut these three patterns from paper. The upper one is the lid, the lower one is the eye and the smallest one is the pupil. The lid should be a little larger than the eye. And when you cut it, cut it about half a centimeter larger because of the seam allowance.
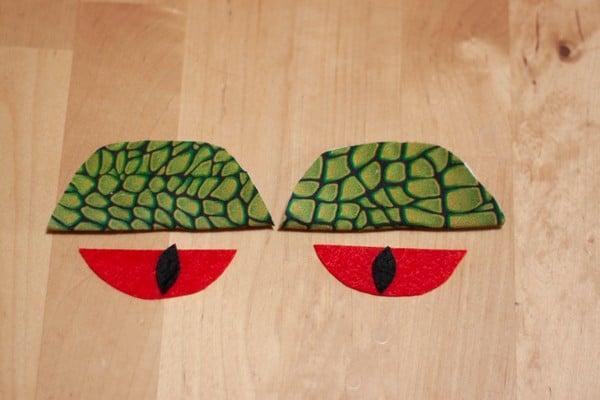
Cut two lids on fold from the sweat fabric, two eyes from red felt and two pupils from black felt. Glue the pupils in the center of the eyes.
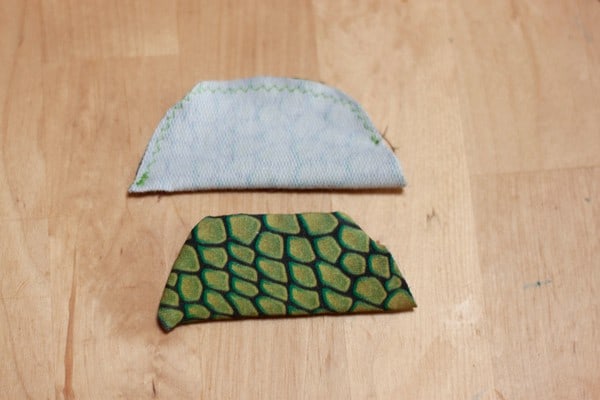
Fold the lids right side in and stitch the edges. Leave about 2 cm open and turn the lids right side out.
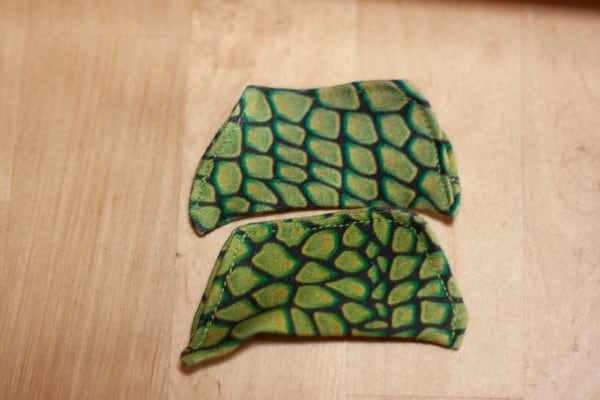
Topstitch around the edges of the lid.
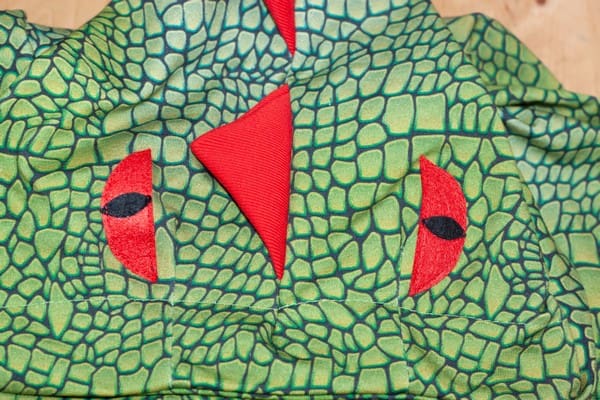
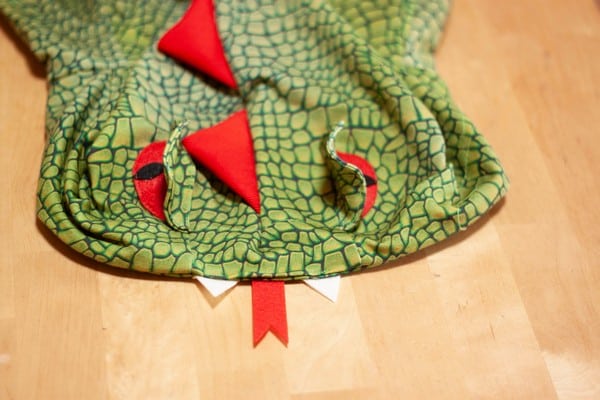
Sew on the eyes on the sides of the spikes on the top of the hood.
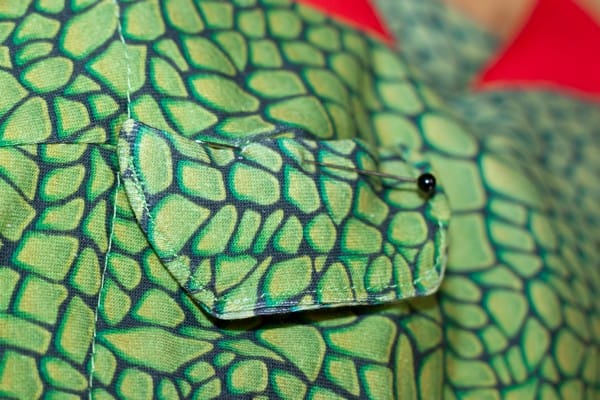
Pin the lids right above the eye.
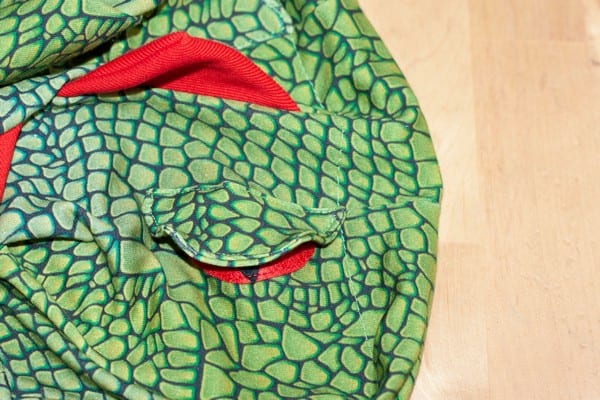
Stitch the straight side of the lid.
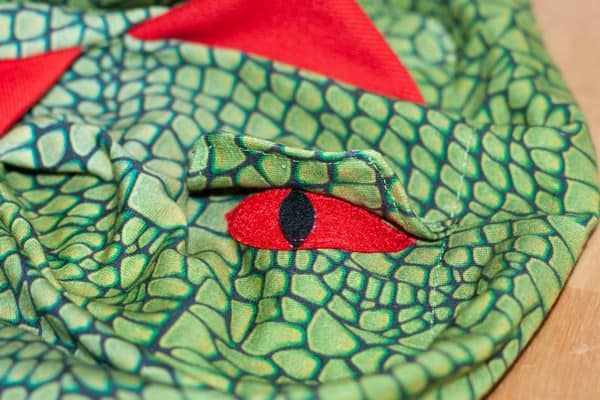
Eyes are done.
Teeth and tongue
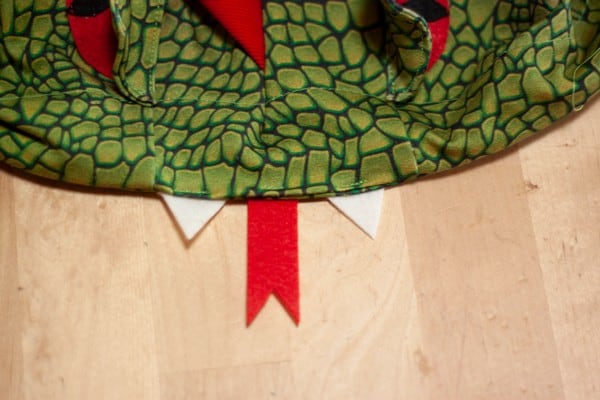
Cut two sharp teeth from white felt and a tongue from red felt. Stitch the tongue on the center inside of the upper edge of the hood and sew the teeth next to it.
The Dragon Constume Sweatsuit is done!