The Hexagonal Gift Box is and elegant way to pack smaller gifts. I also prepared patterns that you can just print and trace on your paper.
![]()
The hexagonal gift box is great for smaller gifts, vouchers, candy…you just need some paper, glue, scissors and a pencil to make it. And you can decorate the box as you wish.
![]() A nice gift should be packed nicely. I had some small things to pack and no nice box. I got out my ruler and pencil and drew this hexagonal gift box. There was still work to do before I had publishable patterns but it was worth it.
A nice gift should be packed nicely. I had some small things to pack and no nice box. I got out my ruler and pencil and drew this hexagonal gift box. There was still work to do before I had publishable patterns but it was worth it.
I prepared two types of patterns for two sizes, you can see them in the featured picture. Just print them, cut them out and trace them onto the paper that you want to use for your boxes.
As you might know, I have a whole Gifts category on my blog. You can find there tutorials on handmade gifts and also several gift boxes, such as DIY Origami Strawberry which I used to decorate the box you see in the photo, Pillow-shaped Gift Box, DIY Strawberry Gift Box or the Matchbox Suitcase for tiny gifts and messages.
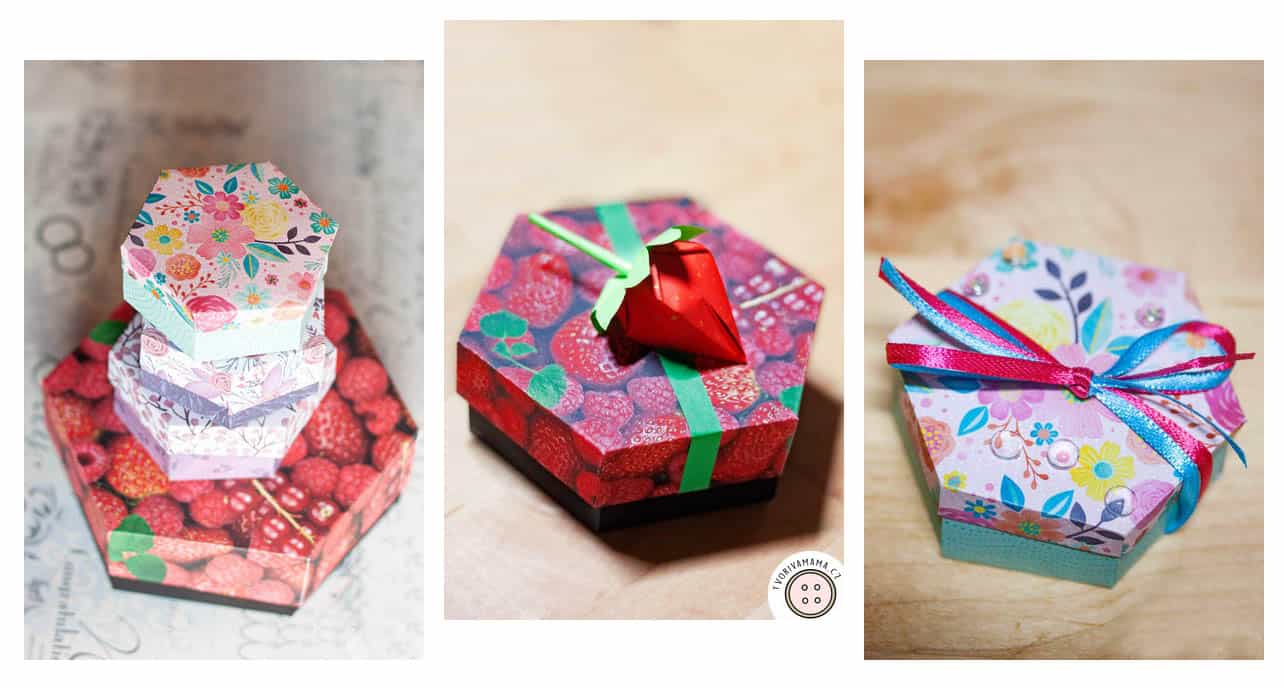
Table of Contents
Supplies
- printed pattern from HERE
- decorative paper
- pencil
- scissors
- glue
- ruler
- decoration – buttons, pearls, ribbons, shells…
Hexagonal Box – Tutorial
Cut and Fold
If you have the possibility to print the pattern directly on the decorative paper, skip the first few steps that explain the tracing.
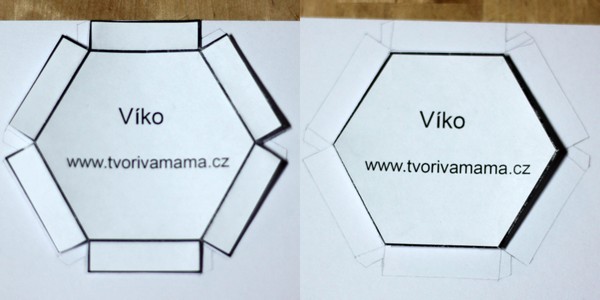
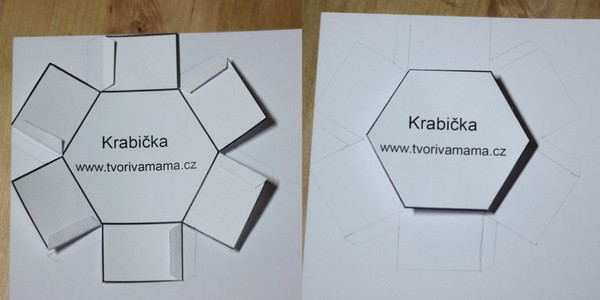
Cut the patterns and trace each pattern on the wrong side of the paper. First, trace the full pattern. Then fold the side folds in and trace again. In the end, fold in the sides and trace the bottom.
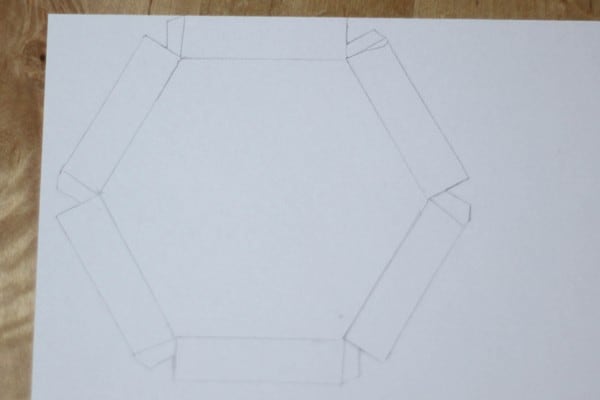
This way you’ll have have all the lines traced.
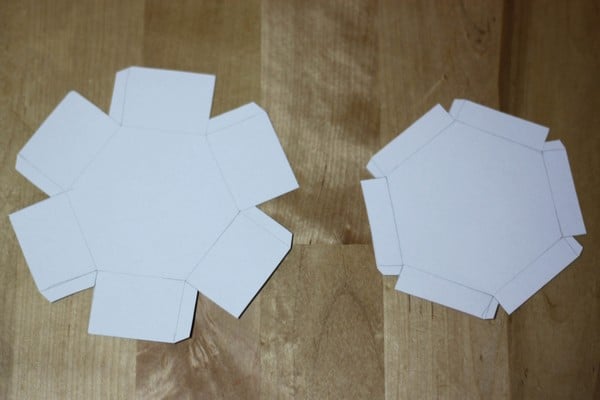
Cut out the patterns.
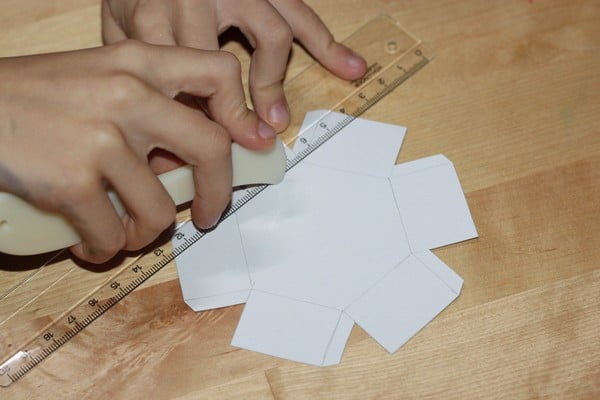
Crease all the lines using a ruler and a creaser or scissors. If you’re using scissors, be careful, you want to crease them, not cut the paper.
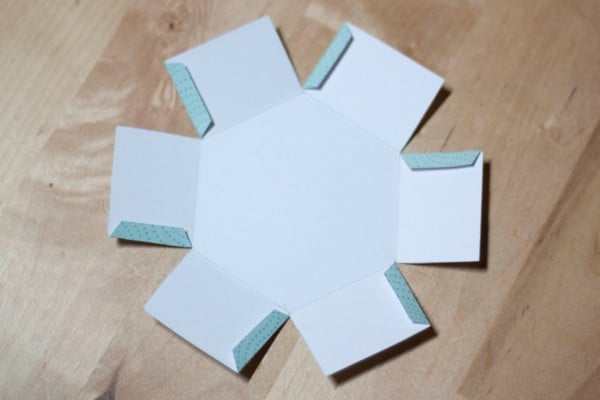
First, fold the side folds in.
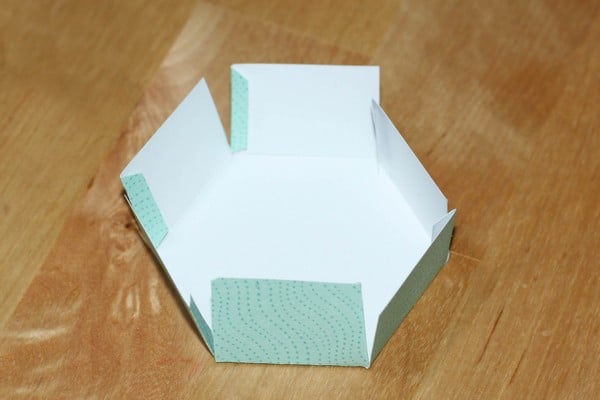
Then the sides…
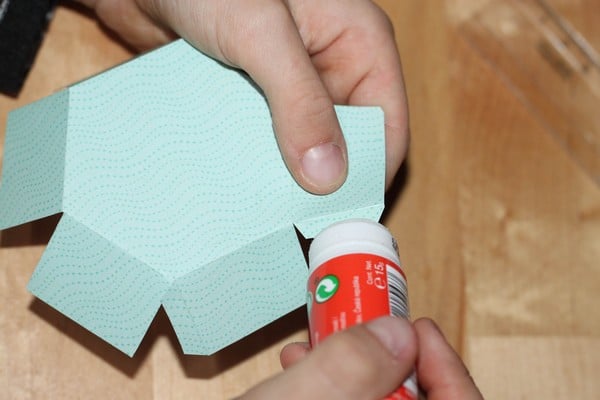
and then apply some glue to the side folds…
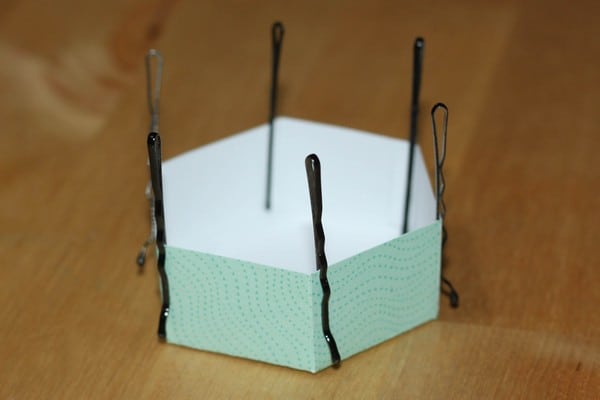
…lift the sides and glue each side fold to the side next to it. You can use hair pins to hold the sides together until the glue is dry.
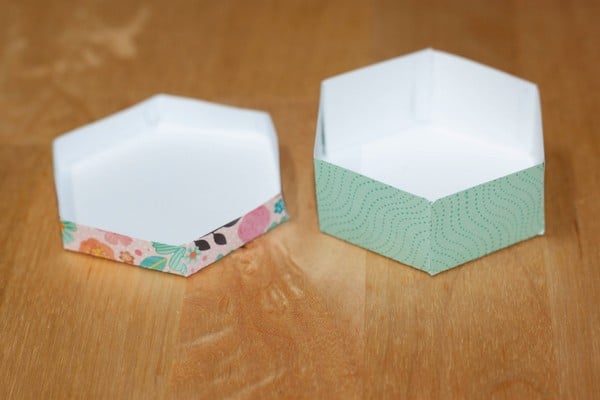
Fold the lid following the same steps.
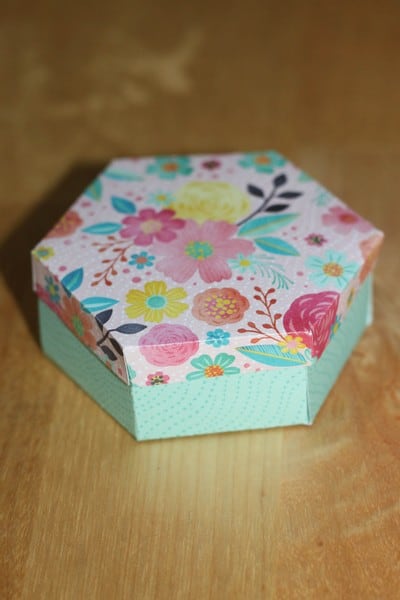
Put the lid on the box to see how it fits.
Decorate
You can decorate the hexagonal gift box any way you like. Here are some tips, let’s start with this one:
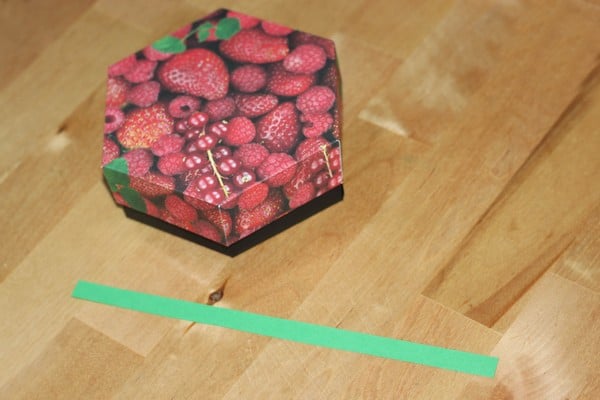
Measure the lid side to side including the walls and add 2 cm. Cut a paper stripe of that length and about 0,5-1 cm wide.
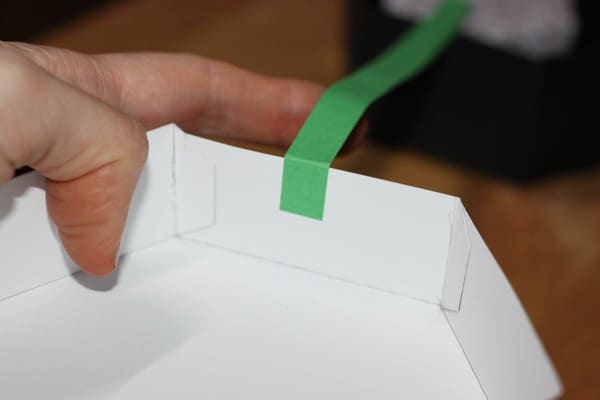
Glue 1 cm of the stripe under one side of the lid.
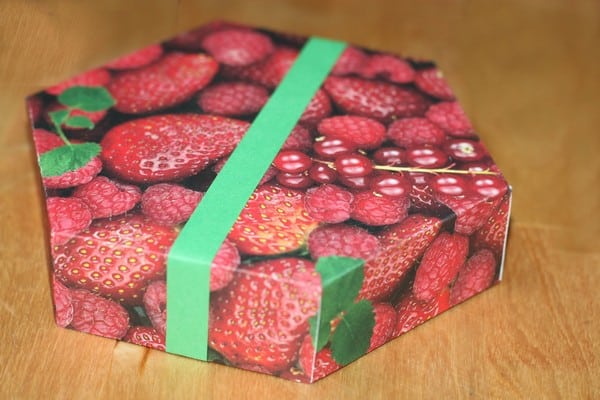
Pass the paper stripe all across the lid and glue the other end inside.
![]()
Make an origami strawberry with this tutorial and glue it in the middle.
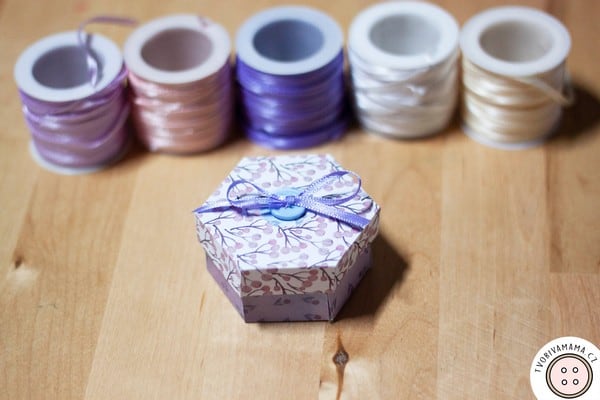
Now let’s take a look at the ribbon button box.
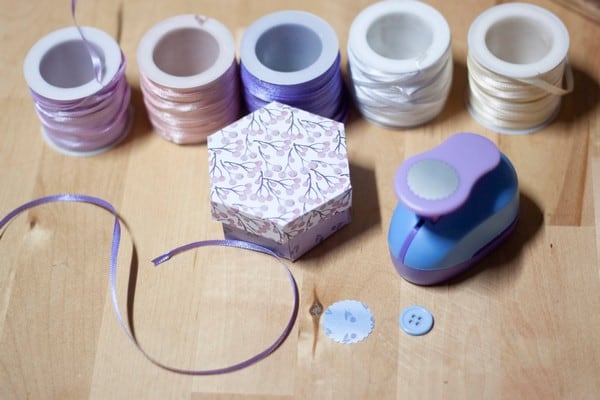
You’ll need a ribbon, a button and a paper punch.
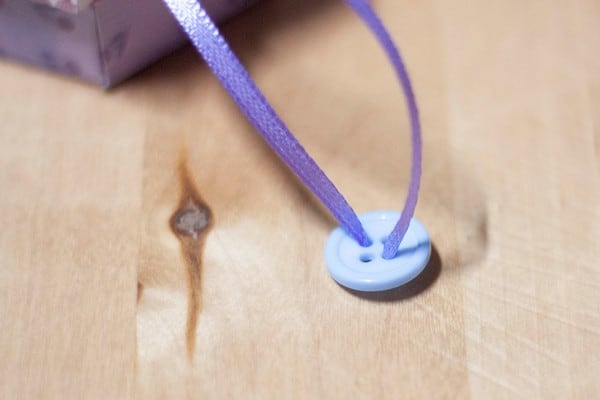
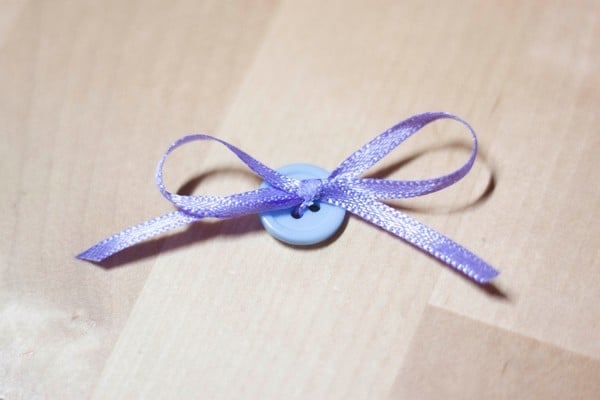
Pass a piece of ribbon through the button holes and tie.
![]()
![]()
Cut out a round decorative piece with the paper punch. Glue it in the center of the lid and then glue on the button.
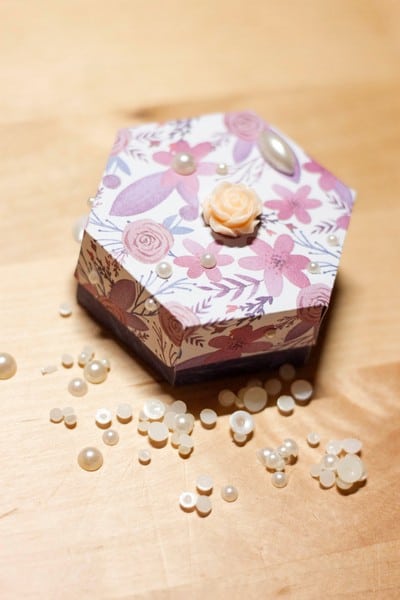
You can decorate your box with pearls and cabochons as well.
![]()
And the last tip is a ribbon decorated box with transparent lentils.
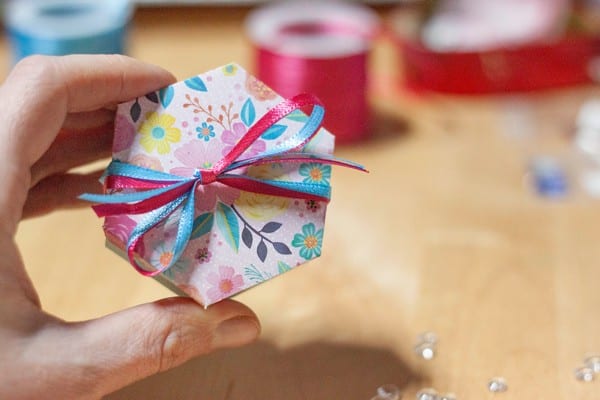
Use two or three ribbons and tie them around the box.
![]()
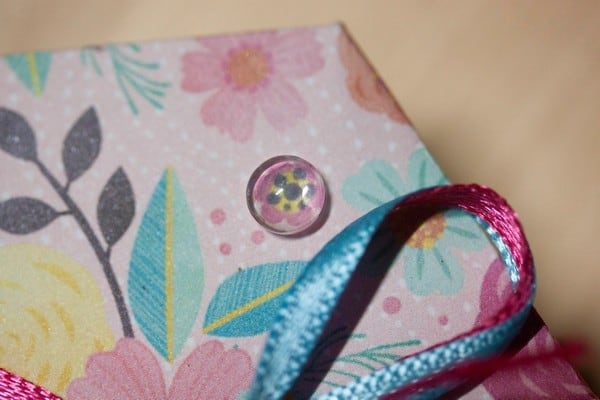
Glue on some transparent lentils.
![]()
What a fantastic tutorial! The hexagonal gift box is not only stylish but also versatile for various small gifts. I love the printable patterns—such a thoughtful addition! Happy crafting!
Thank you!
This tutorial is excellent! The hexagonal gift box design is both stylish and versatile, making it suitable for a range of small gifts. I particularly appreciate the inclusion of printable patterns, as they add a thoughtful touch. Wishing everyone happy crafting!
Thank you!