
There’s a lot of spring grass around and it’s the best time to do some grass weaving! Let’s see how you can weave a simple bowl with lid.

Grass weaving is a relaxing craft which you can teach your kids and do outdoors.

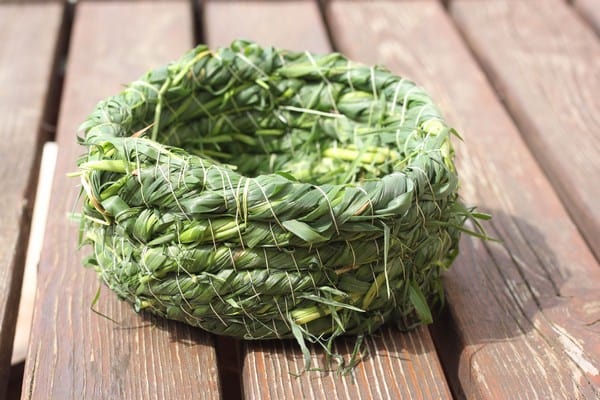
Why weave such a grass bowl with lid? Mainly because it’s fun. Moreover, it’s an original decorative item for your household an – of course – you can use it as a bowl.
If you’re weaving on a hot spring or summer day, try some of my ice-creams!
Table of Contents
Supplies
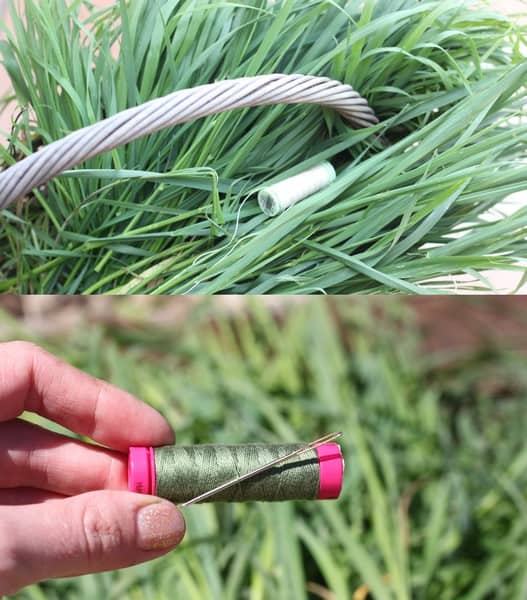
- grass, as long as you can cut
- thick thread
- needle – long and thick is better but you can use any. I’m using embroidery needle with a round tip.
Grass Weaving – how to do it
A tip before you start
Try to keep the cluster of grass evenly thick to get nice even result.
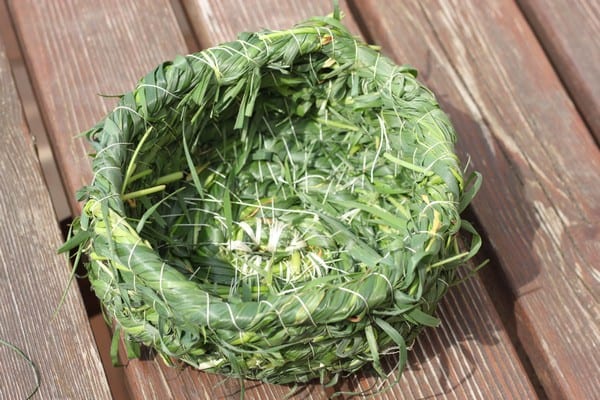
Bowl bottom
First, cut enough grass. Cut it as long as possible, although you can work with shorter grass as well, it’s just going to be more work as you’re going to have to add grass more often. Cut off the roots.
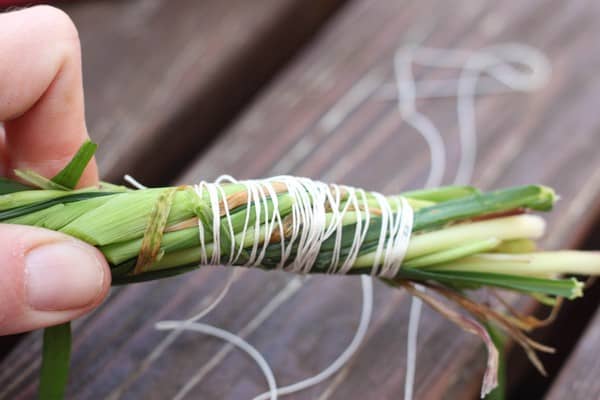
Prepare a cluster of grass as thick as you want and scrunch the ends a little in your hand to make them softer. Twist about 10 cm and then twist some thread around. Thread a needle – I use a jeans thread so I thread it single, if yours is thinner, thread double.
Now start coiling the end as tight as you can. You will coils the grass always around the previous layer and sew through the previous layer and around the newly coiled layer.
Twist the thread around the new layer and sew through the previous layer. This might be a bit more difficult to do when you start – around the very center, but it will get easier as you go.
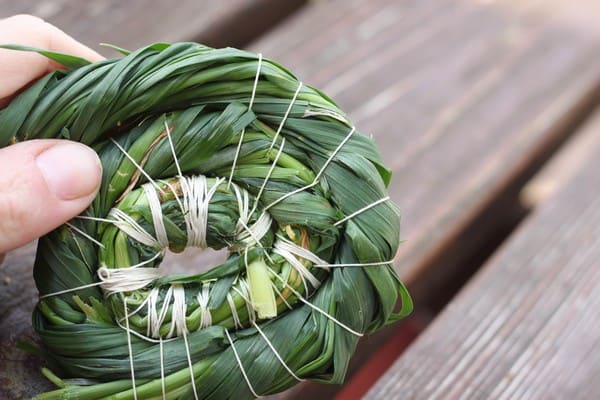
Keep twisting the grass, coiling it and stitching it to the previous layer. Keep the stitches not more than 2 cm/0.8 in from each other. The closet the stitches, the better the final product will hold together. Keep stitching until you’re happy with the size of the bottom of the bowl.
Adding grass
Here’s how you add grass:
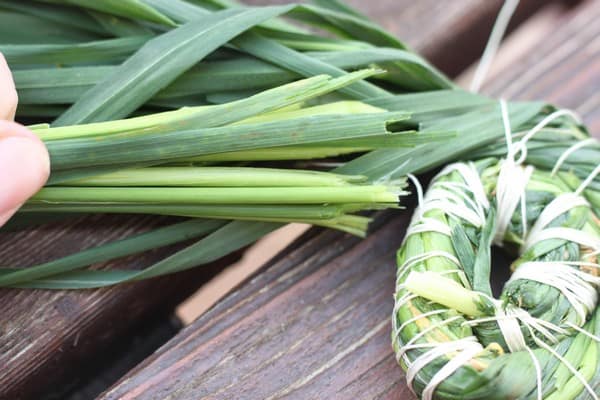
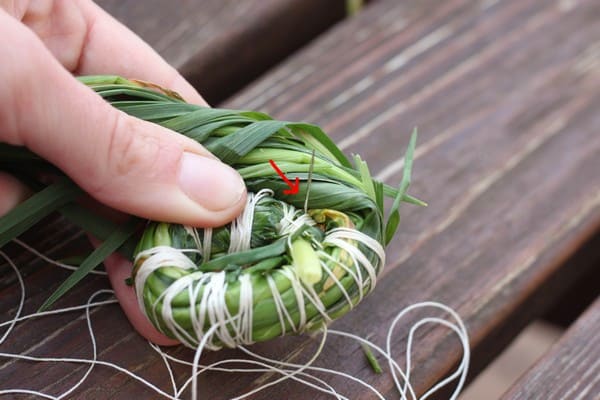
When you have about 15 cm/6 in of grass left, you should add more. Prepare more grass and insert the ends between the remaining ends. Try to place the new ends kind of inside the old cluster so they don’t stick out.
Hold the added grass firmly and twist in the same direction.
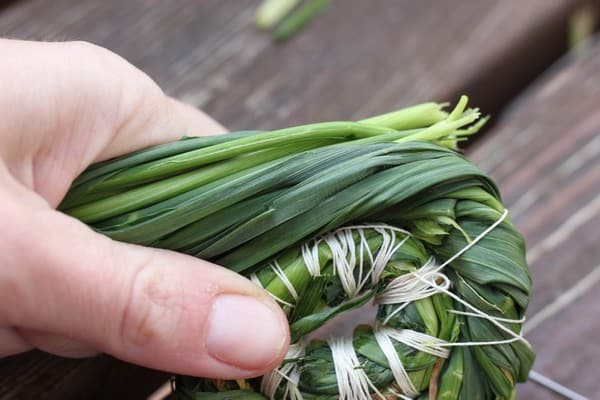
Bowl side

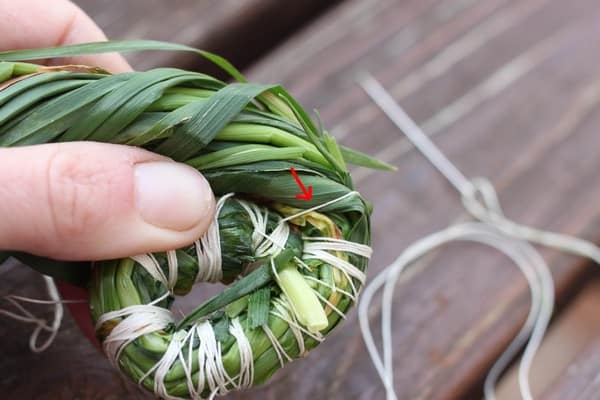
When the bottom is bog enough, you’ll keep adding more layers but not flat like until now. Now, place the new layers a little higher. The higher you place the new layers, the steeper the wall will be.
Keep adding new layers, always a little higher than the previous one, until the bowl is as tall as you want it.
Finishing
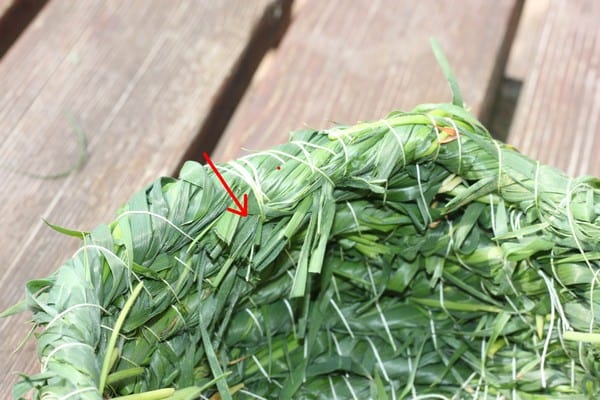
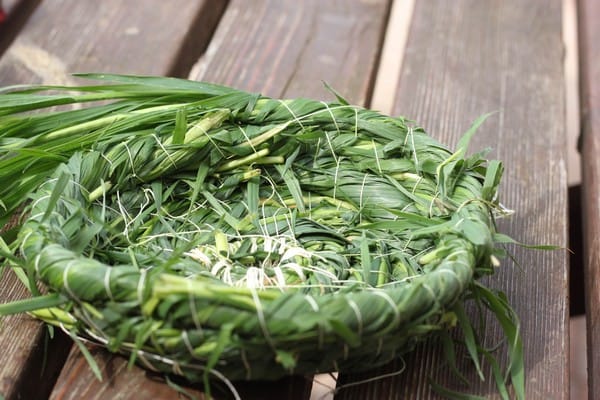
When the bowl is tall enough, don’t add new grass, twist the end and fold it inside the bowl. Stitch a few times over the end to hold it in place.
The bowl is done. If there’s too much grass sticking out, you can cut it.
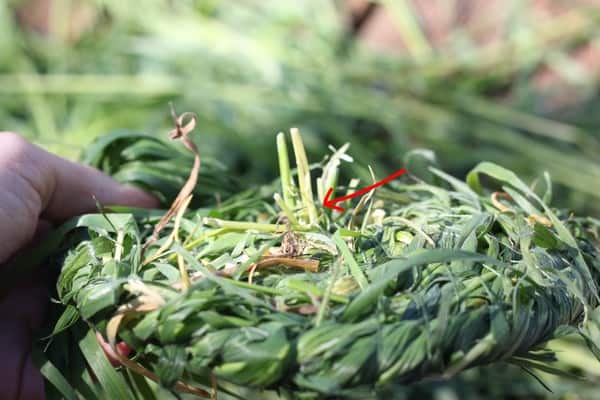
Lid
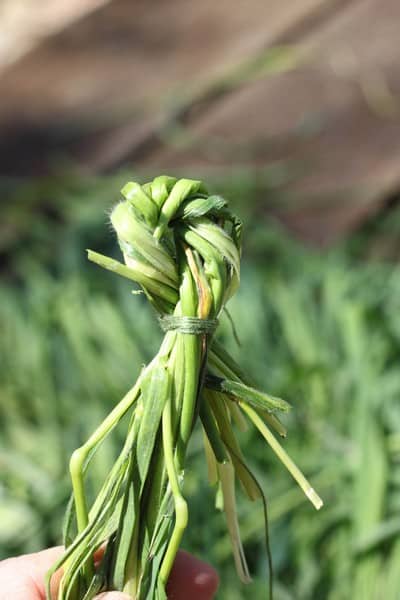
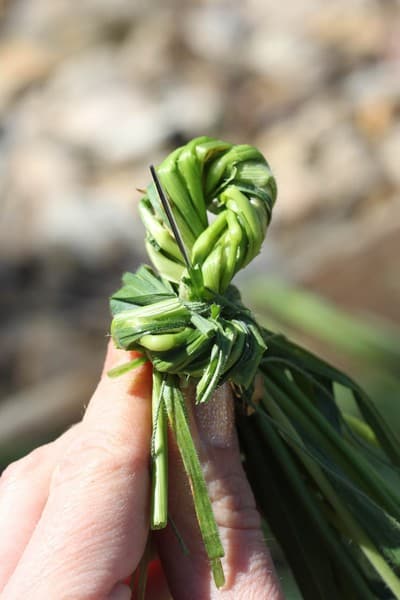
To start the lid, prepare some grass again and twist it. This time, don’t twist any thread around it. Fold the grass in half like you see in the photo. Wrap some thread around where the two parts meet to make a small “knob”.
Now keep twisting the grass around the spot with the thread in the same manner like you did with the bottom of the bowl.
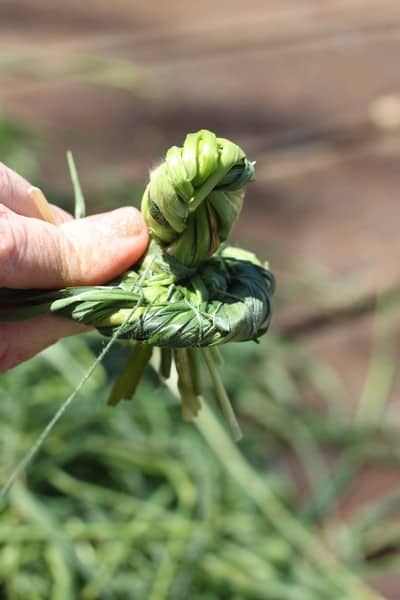
Stitch more layers.
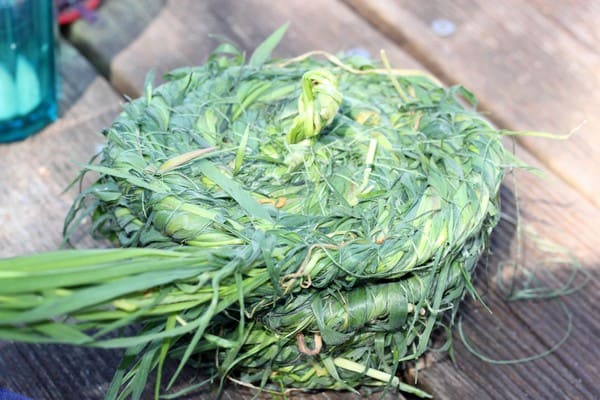
Place the lid on the bowl to see if it’s large enough.
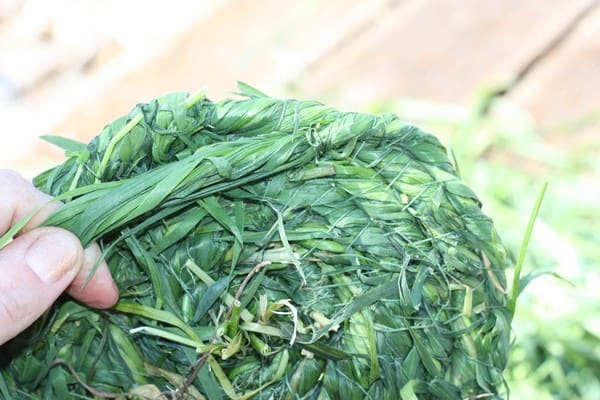
And when you want to finish just twist the end and fold it on the bottom of the lid and stitch.
There will probably still be some grass sticking out at the center bottom, just trim it.
Next?
You can use the grass bowl as a bowl or for decoration. If you want to speed up the drying, leave it to dry in the sun.


