
How about making use of all the grass around in a different way and making a grass basket?

Recently, I wrote a tutorial on the Grass Bowl with Lid, this time I’m going for something larger and also very practical. The Grass Basket is not difficult to make (it just requires some time) and you don’t need much, just some grass, thread and needle.

I find this to be a very relaxing craft. I sit in the grass, enjoy the sun and weave (or sew) as much as the time and kids allow me. Also, I like the fact that I’m using a piece of the nature that surrounds me and I can spend time outside doing it.
As I said, it’s not just a decorative piece, the grass basket is practical. I use it to carry the fruit and veggies from our farm.


Table of Contents
Supplies
- grass, as long as you can cut it
- firm thread, such as jeans thread
- thick long needle, I use embroidery needle with round tip but any long needle will do

Grass Basket – Tutorial
Bottom
First, cut enough grass. Cut it as long as possible, although you can work with shorter grass as well, it’s just going to be more work as you’re going to have to add grass more often. Cut off the roots or fold them up.
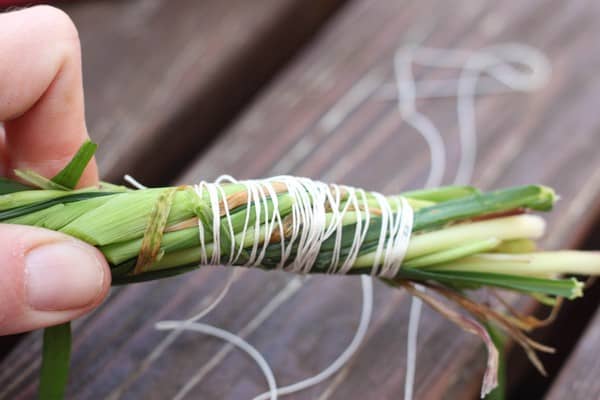
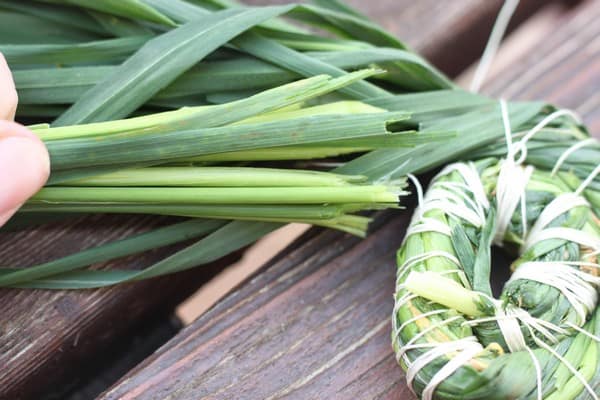
Prepare a cluster of grass as thick as you want and scrunch the ends a little in your hand to make them softer. Twist about 10 cm and then twist some thread around. Thread a needle – I use a jeans thread so I thread it single, if yours is thinner, thread double.
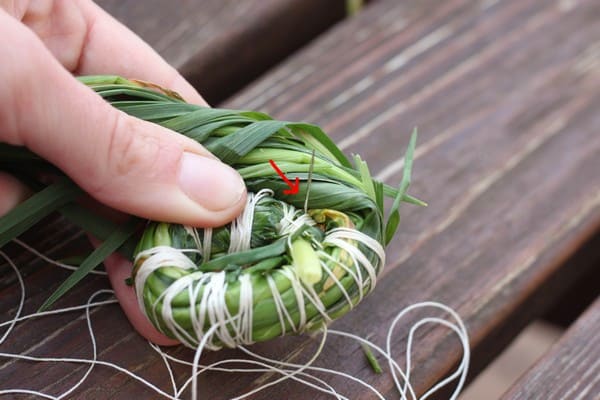
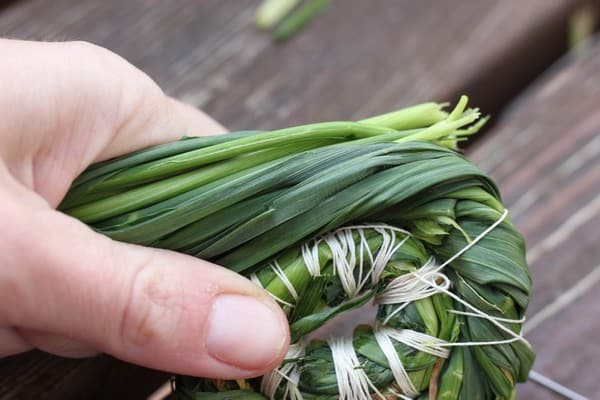
Now start coiling the end as tight as you can. You will coils the grass always around the previous layer and sew through the previous layer and around the newly coiled layer.
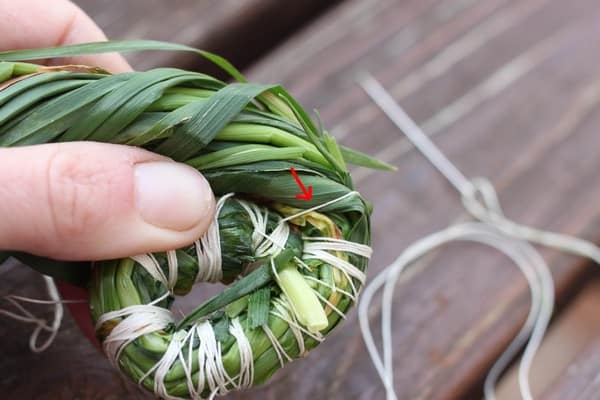
Twist the thread around the new layer and sew through the previous layer. This might be a bit more difficult to do when you start – around the very center, but it will get easier as you go.
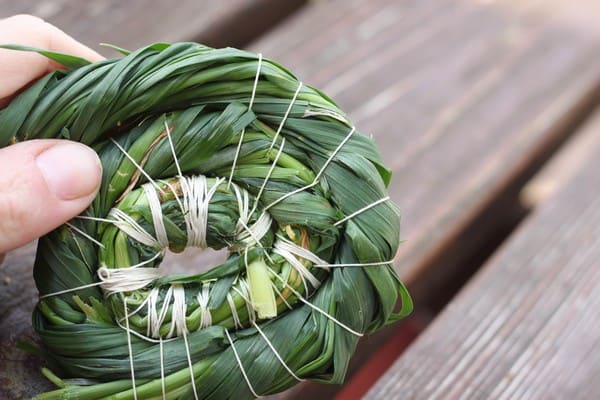
Keep twisting the grass, coiling it and stitching it to the previous layer. Keep the stitches not more than 2 cm/0.8 in from each other. The closet the stitches, the better the final product will hold together. Keep stitching until you’re happy with the size of the bottom of the basket.

When the bottom is large enough (in my case about 35 cm/13.8 in in diameter), it’s time to weave the sides of the basket.
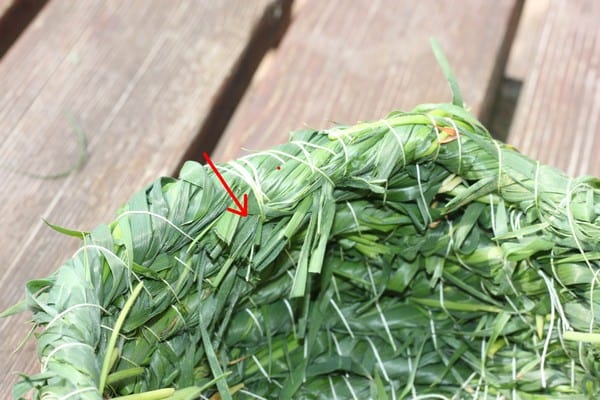
Adding grass
Here’s how you add grass:
When you have about 15 cm/6 in of grass left, you should add more. Prepare more grass and insert the ends between the remaining ends. Try to place the new ends kind of inside the old cluster so they don’t stick out.
Hold the added grass firmly and twist in the same direction.
Sides

To make a wall, add another layer but this time, place it on the previous layer instead of continuing flat.

Keep sewing in the same manner, twist the thread around the new layer and sew through the previous layer.

Keep adding layers to make the side of the basket taller.

Until the basket is as tall as you want it.
Handles
The last thing to do is to add handles so you can carry the basket comfortably.

Twist a piece of the grass cluster long enough that you can hold it in your hand. Twist a thread around it a few times (I go there and back several times) but do not stitch this piece to the previous layer.

Place this piece on the previous layer and push it a little towards the point where you stopped sewing so the handle lifts a little, you don’t want it to lay flat but rather to create a round handle. Continue twisting the grass and stitching it to the previous layer from the point where the handle ends.
Continue until the point in which you will make the second handle.

Create the second handle following the same steps. Make sure it’s exactly on the opposite side from the first handle.

When you’re done with the second handle, add one more layer of grass. This will make the handles stronger and resistant to the carried weight.
Finishing
Twist the end and fold it inside the bowl. Stitch a few times over the end to hold it in place.

You’re grass basket is done.
Drying and using your Grass Basket

I usually let my grass products dry naturally, sometimes in the sun. However, when it comes to the basket, I turn it every now and then while it’s drying. It’s larger and heavier and especially when it’s not done in one go but rather over several days, parts made earlier dry earlier and the newly added grass presses on the dried grass which deforms the basket a little. So turn the basket every few hours to make the drying a bit more regular.
I use the basket as any other basket, respecting its load bearing capacity (which depends on the thickness of the grass clusters and the density of stitches). I use it to carry the products of our farm but I wouldn’t use it to carry very heavy loads.


